Loans (collaterized)
Chelo Lending user guide
To create a collateralized loan:
we must click the switch in our form before submitting to use collateral.
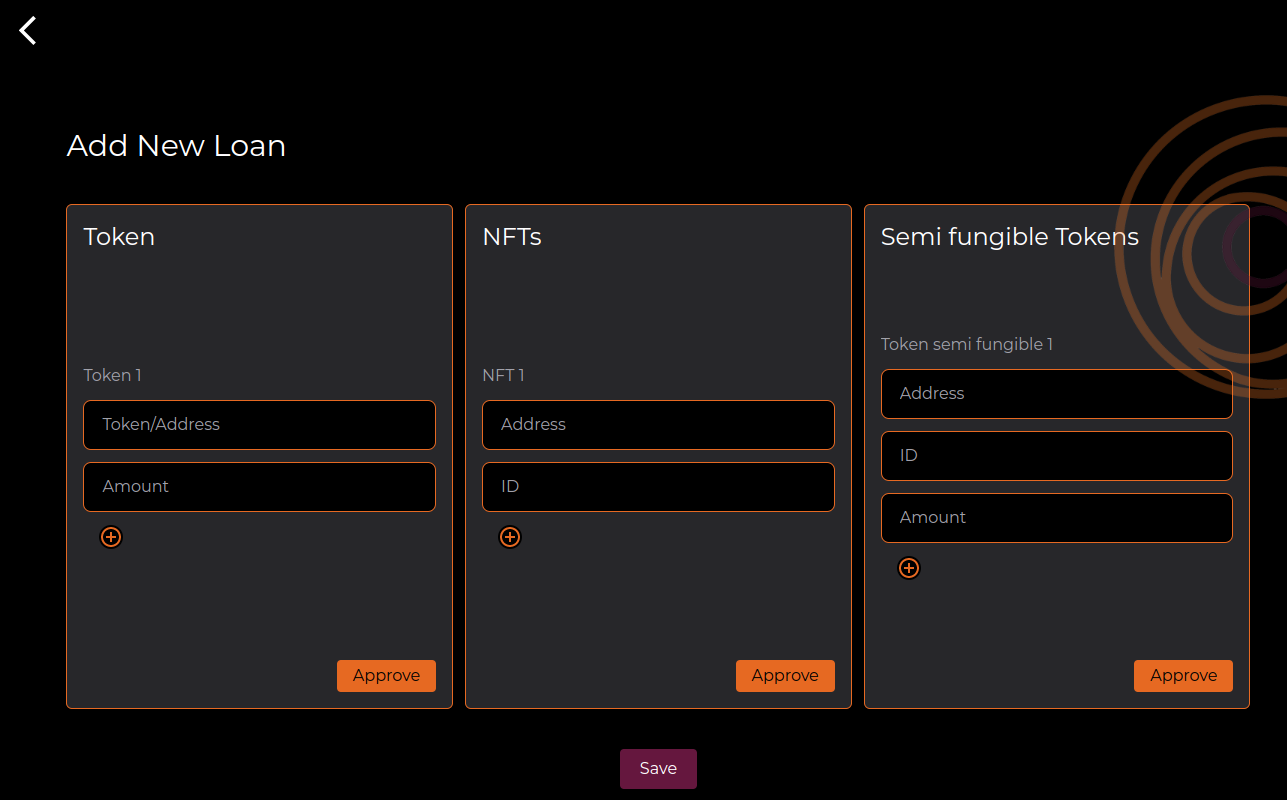
we will click save and it should take us to another screen to add collateral.
Here we can add 0-x different tokens, NFTs and semi fungible tokens. We must specify its address and amounts for each one. Collateral is not required for each field; it is also possible to add one token or one NFT if we want to.
We must follow several steps to add collateral:
Add the address, IDs and amounts Approve each collateral.
Click approve on the collateral type and submit as many transactions as tokens in that type. For example, if we add 3 different NFTs, we must click approve and execute 3 transactions, one for each NFT.
Create our “basket” of collateral.
After each transaction has been executed and added into a block (tx-approved), we must click “Save”, that will trigger a transaction that will create our “basket” NFT with all the funds we have just approved. Then another transaction will be triggered which will approve our NFT asset basket that our contracts will use.
Create a vote in the DAO. The last transaction we will execute is the vote in our mini-DAO -- follow the same process as with uncollaterized loans (see the previous section).
Last updated